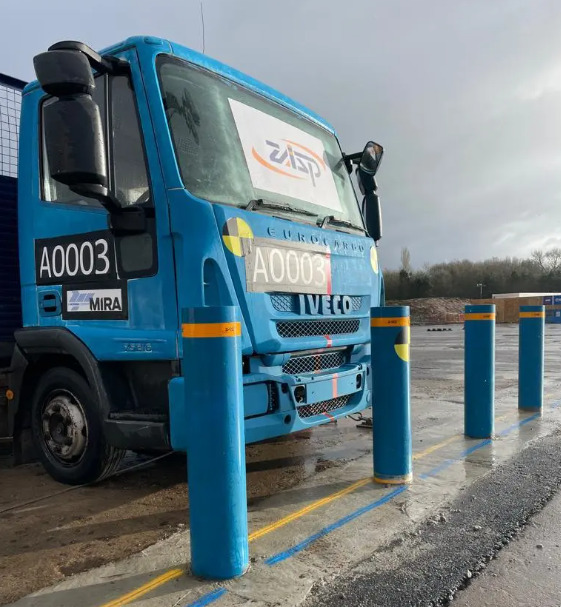
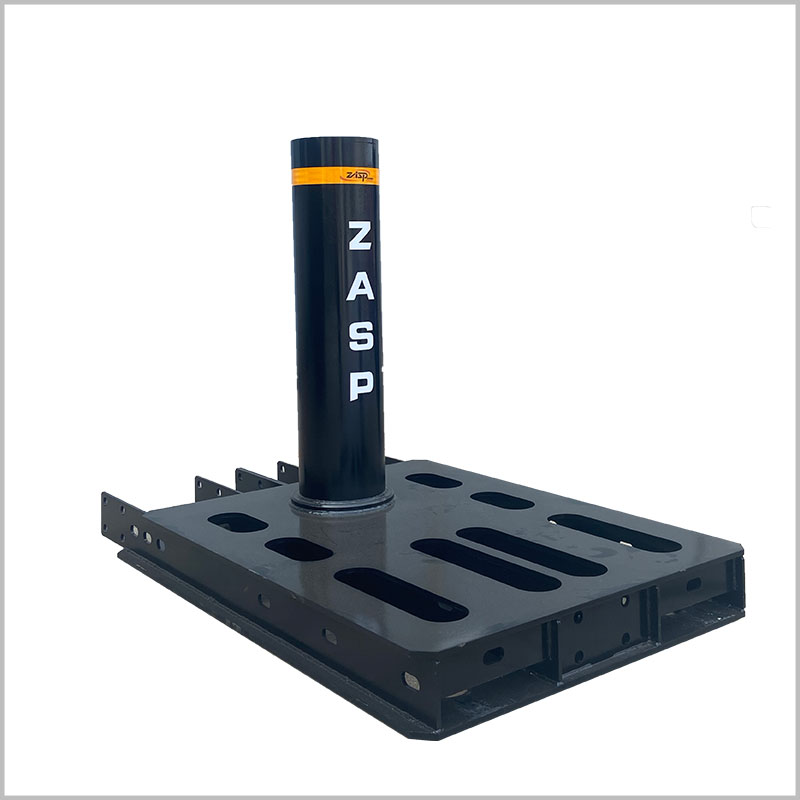
Fixed bollards are robust, immovable posts designed to control and restrict vehicular access to certain areas. They are commonly used to enhance security and safety in public spaces, parking lots, and around buildings. Proper installation of fixed bollards is crucial to ensure they serve their intended purpose effectively. Here’s a step-by-step guide on how to install fixed bollards:
How to Install Fixed Bollards: Step-by-Step Guide
1. Gather Necessary Tools and Materials
Before you begin, make sure you have all the required tools and materials on hand. You will typically need the following:
- Bollards
- Concrete or asphalt anchors
- Post hole digger or auger
- Level
- Tape measure
- Mallet or sledgehammer
- Mixing equipment for concrete (if installing in concrete)
- Protective gear (gloves, safety glasses, etc.)
2. Choose the Installation Location
Select the precise locations where you want to install the fixed bollards. Consider factors such as access control, safety requirements, and architectural aesthetics. Ensure that you comply with any local regulations or building codes regarding bollard placement and spacing.
3. Prepare the Site
Prepare the installation site by clearing the area of any debris or obstructions. Mark the positions for the bollards using spray paint or stakes. Ensure that the locations are aligned correctly and evenly spaced.
4. Dig Post Holes
Using a post hole digger or auger, dig holes at the marked locations. The depth and diameter of the holes will depend on the specific bollard and anchor requirements. Typically, the holes should be deep enough to accommodate the bollard and anchor while allowing for proper stabilization.
5. Mix and Pour Concrete (If Required)
If you are installing bollards in concrete, mix the concrete according to the manufacturer’s instructions. Pour a layer of concrete into each hole, ensuring that the bollard will sit at the desired height and alignment. Place the bollards into the wet concrete and use a level to ensure they are perfectly upright. Allow the concrete to cure according to the recommended timeframe provided by the concrete manufacturer.
6. Secure the Bollards
If you are using anchors, insert the anchors into the holes, ensuring they are properly aligned and secured. Place the bollards over the anchors and firmly press them down. Use a mallet or sledgehammer to ensure the bollards are tightly in place. For added security, tighten the anchor nuts or bolts as per the manufacturer’s instructions. If you used concrete, the bollards should already be secure in the cured concrete.
7. Verify Alignment and Stability
After installing all the bollards, double-check their alignment and stability. Ensure that they are perfectly upright and firmly anchored to the ground. Make any necessary adjustments at this stage.
8. Test the Installation
Conduct a test to ensure the bollards are functioning as intended. Attempt to move or push them to verify their stability and security. If the bollards remain firm and immovable, the installation is successful.
Proper installation of fixed bollards is essential for enhancing safety and security in various environments. By following these steps, you can effectively install fixed bollards to control vehicular access and protect specific areas.
How to Install Different Types of Bollards
Different bollard designs require slightly different installation methods. Here’s an overview:
1. Embedded Fixed Bollards
-
Most common for parking bollards installation.
-
Installed by core drilling and filling with concrete.
-
Offers maximum impact resistance.
2. Surface-Mounted Bollards
-
Ideal for indoor or low-impact areas.
-
Anchor bolts are used instead of deep excavation.
-
Faster method for installing a bollard on concrete floors.
3. Removable Bollards
-
Require ground sleeves pre-installed in concrete.
-
Suitable for locations that need flexible access control.
4. Fold-Down or Lockable Bollards
-
Perfect for restricted parking areas.
-
Includes a base plate fixed with expansion bolts.
Bollard Installation Details to Consider
-
Soil condition: Loose soil requires deeper excavation.
-
Bollard size: Larger bollards require thicker concrete footing.
-
Load rating: High-impact zones need reinforced steel bollards.
-
Parking lot layout: Align bollards with traffic direction and entry points.
Proper bollard pole installation ensures stability and long-term performance, especially in high-traffic parking areas.
At ZASP, we not only provide reliable fixed bollard installation solutions but also offer a full range of access-control products to meet different project needs. Our lineup includes Automatic Bollards, Fixed Bollards, Removable Bollards, and Semi-Automatic Bollards, and so on, each designed for long-term durability and high-impact protection in commercial, industrial, and urban environments. Whether you need heavy-duty security for a facility or simple traffic guidance for a parking lot, we deliver systems that combine strength, convenience, and modern design. Explore our complete product range and upgrade your site protection with a solution that fits your project – contact us today to get expert recommendations.
FAQs
1. How deep should a bollard be installed?
Most fixed bollards require 300–600mm of embedment, but high-security models may need deeper installation.
2. Can I install bollards on asphalt?
Yes, but a concrete footing must be added first because asphalt alone cannot hold a bollard securely.
3. What tools do I need for bollard installation?
You typically need a core drill, level, concrete mix, shovel, measuring tape, and anchor bolts (for surface-mounted bollards).
4. How do I install parking bollards in a commercial lot?
Drill the hole, position the bollard, pour concrete, and allow curing. Always follow local engineering and safety standards.
5. How long does concrete take to cure?
Initial curing takes 24–48 hours, but full strength is achieved after 28 days.


